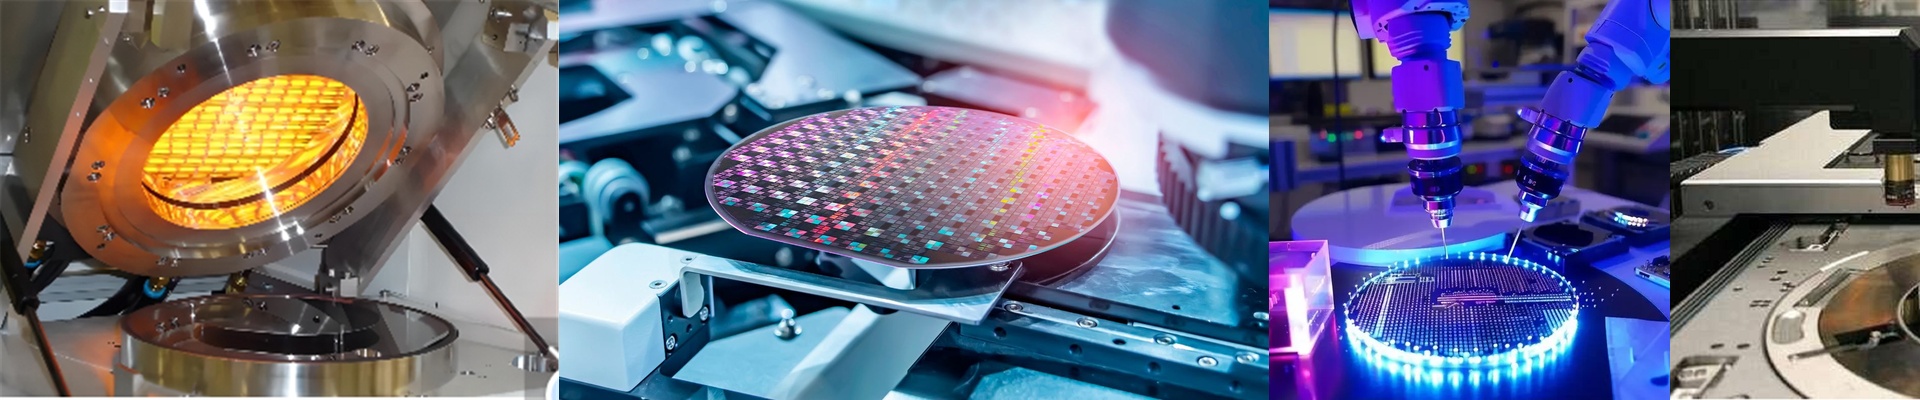

On the fab floor, a 0.3°C drift across the wafer is enough to move CD, throw overlay, and push the photoresist outside its thermal budget. No warning lights. Just scrap—and an urgent call from lithography.
What actually matters
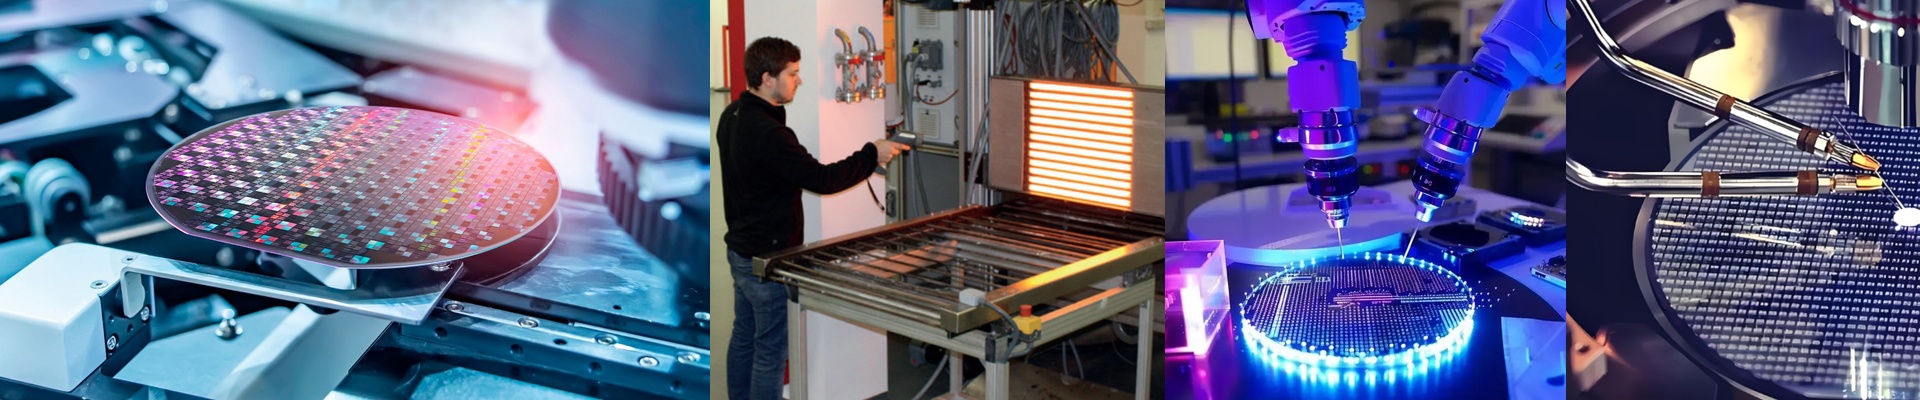
We built zoned heating around independent, closed-loop control of discrete thermal zones. Each zone runs on fast-response NIR emitters with a quartz-stabilized profile, holding repeatable setpoints from 150–300°C with ±0.1°C wafer-level uniformity. The heater block is built for Class 1–100 cleanroom use: low outgassing materials, no exposed adhesives, and a surface finish that keeps particle counts in check. Power runs through shielded, EMI-aware cabling, and the control firmware logs every bake step with traceable recipe data—no guesswork, just documented repeatability.
Why this works in photoresist processing
In soft bake and hard bake, zoned heating keeps the entire wafer within spec, which cuts down reflectivity-driven CD variation and helps with edge bead issues. You end up with more consistent critical layers, fewer reworks, and a tighter process window—without touching the spin track recipe. Energy use drops because only the active zones are heated. Uptime improves too: the design handles high cycle rates without thermal fatigue, and we’ve got units running 5,000+ hours with less than 5% output drift.
What you need to plan for
Zoned heating needs a clean mechanical interface and stable utilities. Match the footprint and mounting points to your bake plate, confirm your gas and power budgets, and schedule a short commissioning run to calibrate zone offsets against your metrology stack. There’s a bit more setup time up front. That’s the trade—so you can run a bake process you trust, shift after shift.